Design Course
Pop-Up Design
Mechanism Paper Transformation to 3D Sculpture
by
Paper Cutting and Folding
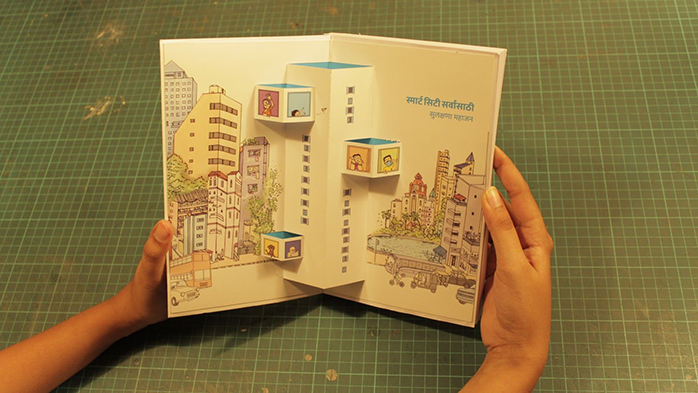
Though paper cutting and folding does not completely conform to definitions of pop-up, it is an easy and exciting way of quickly creating 3D shapes and movements in cards. This unique way of cutting and folding was created in Japan by Prof. Masahiro Chatani and is influenced by paper mechanisms, origami and architecture. This gave rise to a genre of pop-up called origami architecture.
Origami architecture involves the three-dimensional reproduction of architecture, geometric patterns, everyday objects, or other images, on a single sheet of paper. It makes effective use of light and shadow along with geometry to create intricate shapes and patterns.
After reading and referring to the books written by Prof. Masahiro Chatani, we tried few basic origami architecture paper folding techniques. Some basic warm-up techniques before you start pop folding and movable folding techniques are provided below. (For more details you can visit his website or buy books).
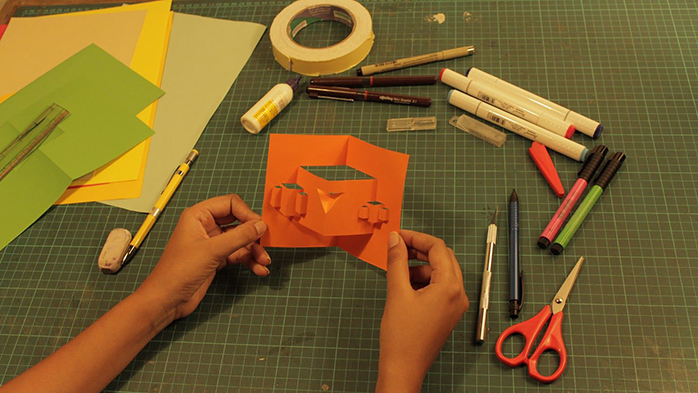
A. Basic Square
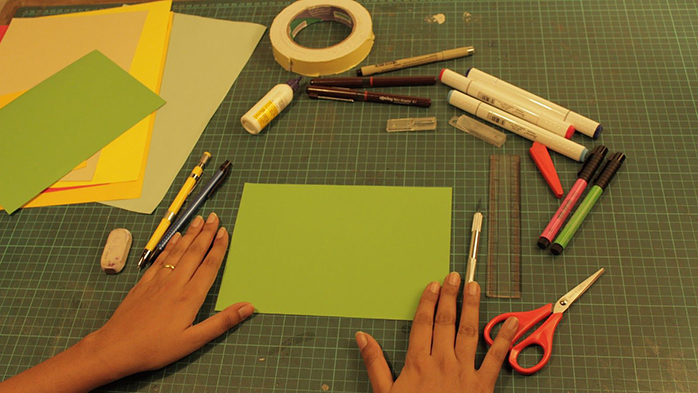
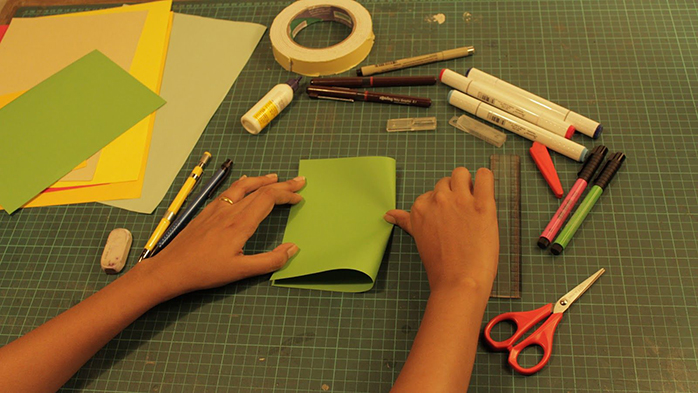
Step 1: Take any colour tinted or cartridge paper (thickness of more than 130gsm) fold it in half and press it firmly.
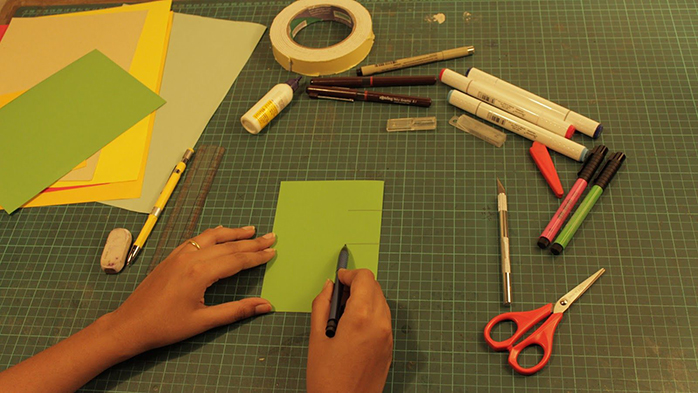
Step 2: Draw a basic square shape on the half side of the paper.
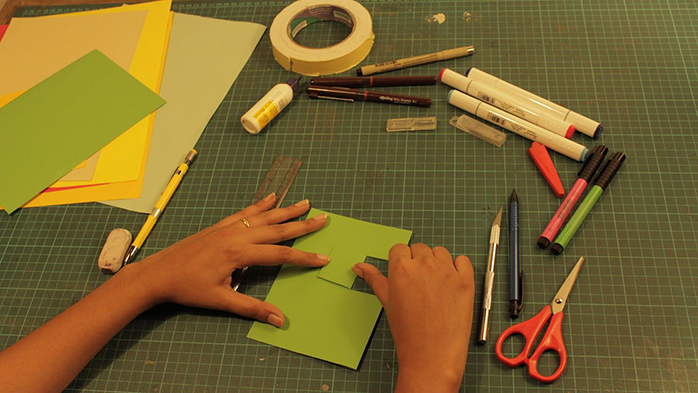
Step 3: With the use of a cutter or scissor cut it from both sides as you can see in the picture.
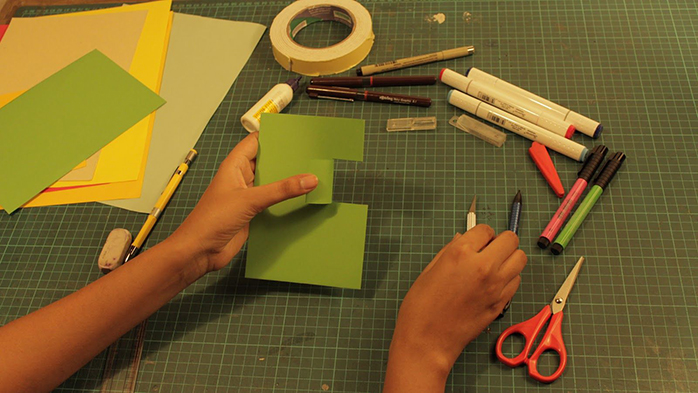
Step 4: Open the cut part on your left side and press it firmly with the use of a thumb or scale.
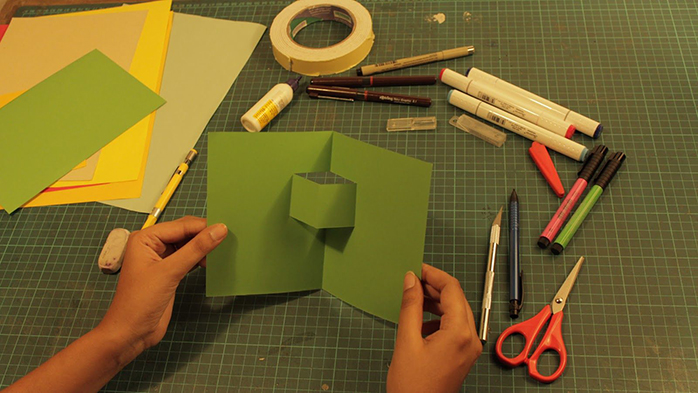
Step 5: Open your card and push the fold of the cut square inwards. Your basic square origami cutout is ready.
B. Heart
The technique for making heart card is very similar to the previous one.
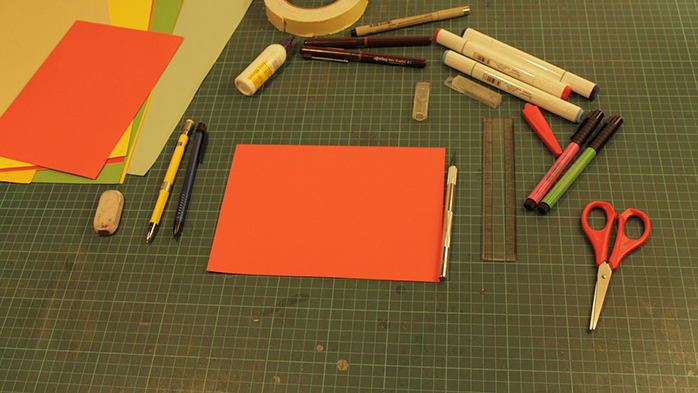
Step 1: Take any colour tinted or cartridge paper (thickness of more than 130gsm) fold it in half and press it firmly.

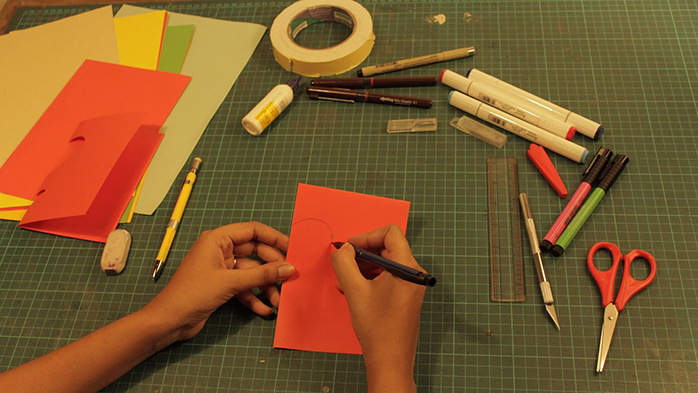
Step 2: Draw half heart shape on one side of the paper.
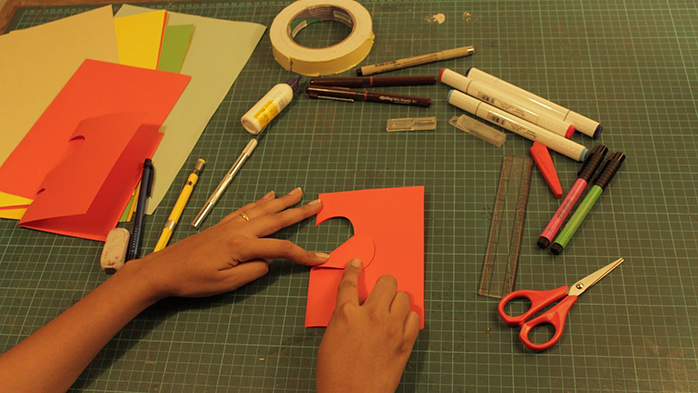
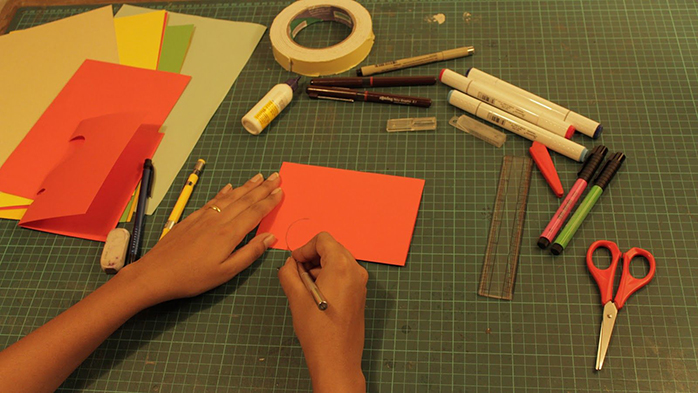
Step 3: Cut only the top curved portion and fold it as shown.


Step 4: Open your card and push the fold of the cut heart inwards. Your heart cutout is ready.
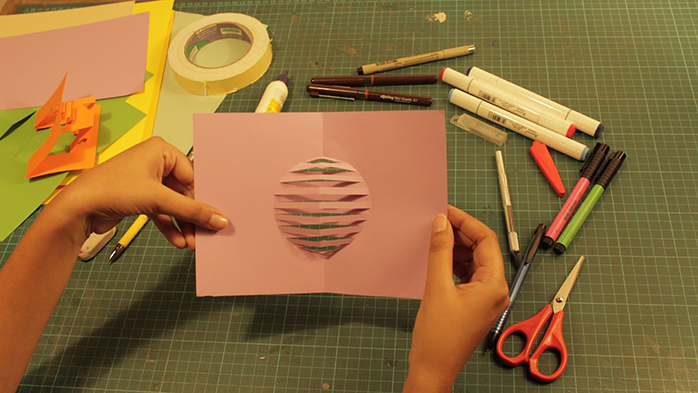
Similarly, you can explore a lot of different cuts and shapes.
Following are a few of explorations that we tried.