Design Gallery
Product Sketching and Presentation
Various Stages and Steps in Product Design
by
-

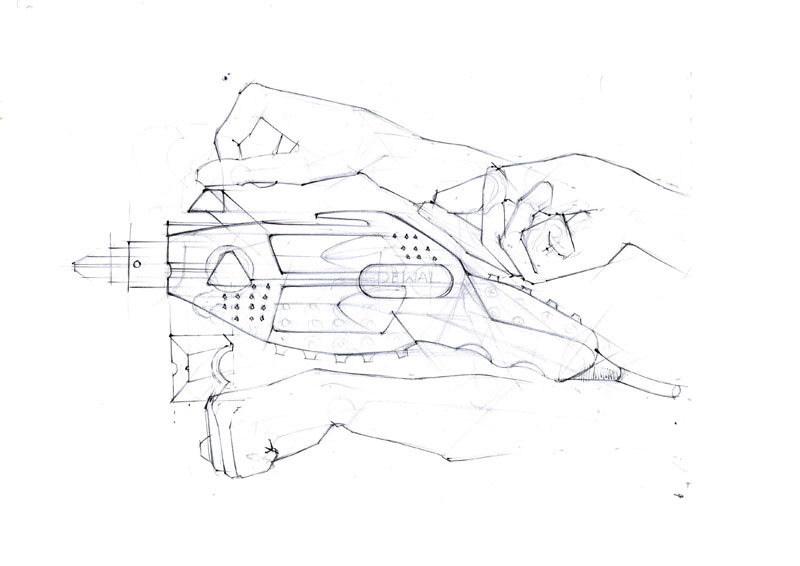
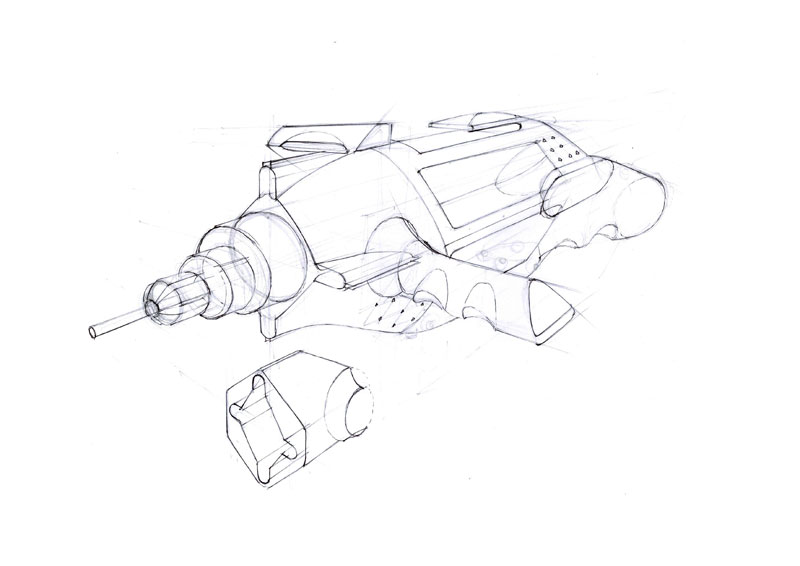
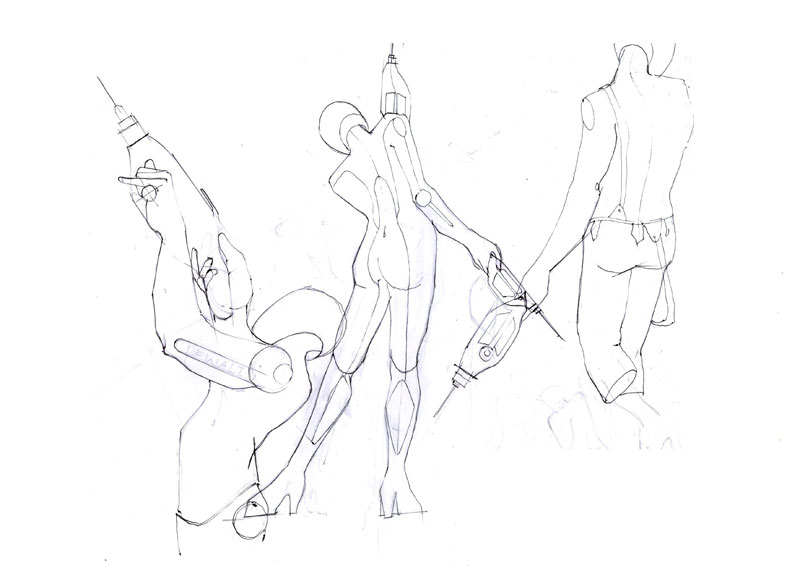
Initial reference lines for showing the product size and hand holding positions.
-

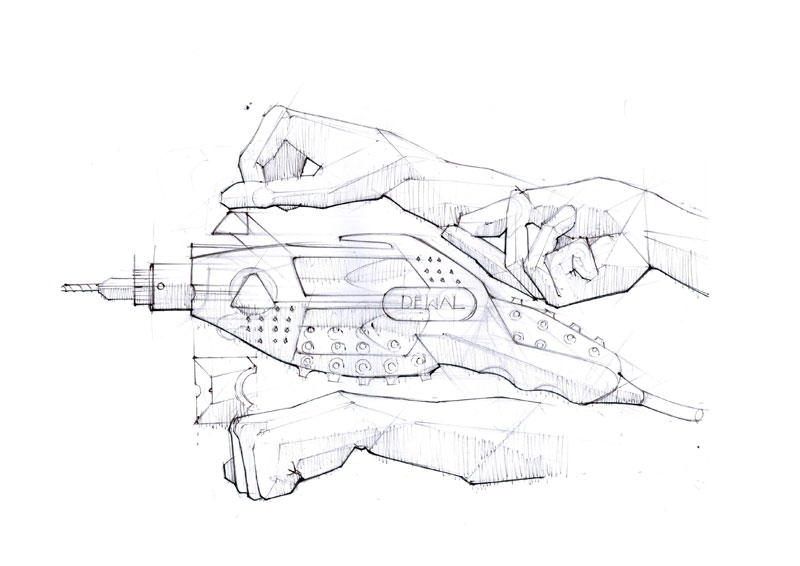
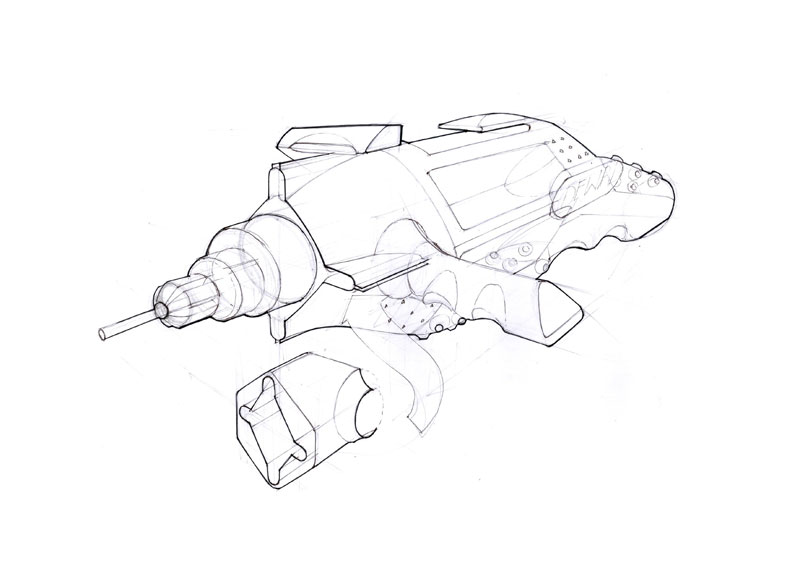
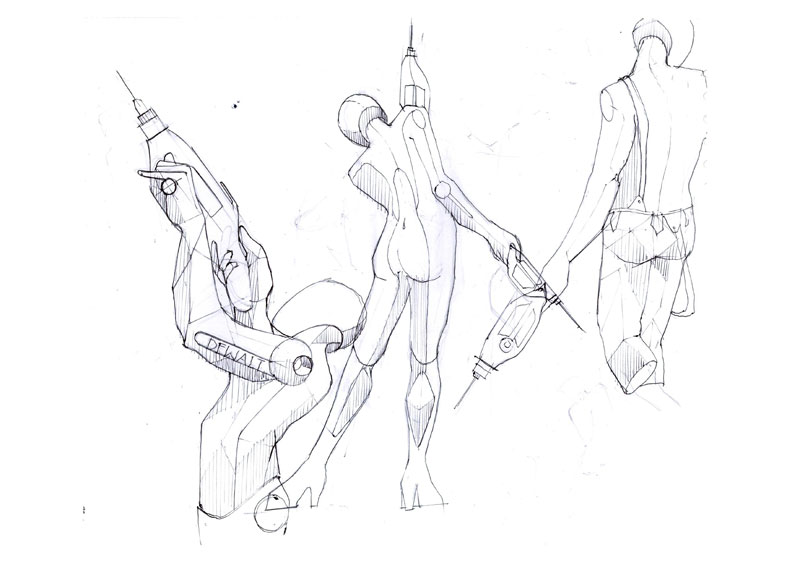
Further corrections and adding the details in to the initial sketches. And adding shades and highlights.
-

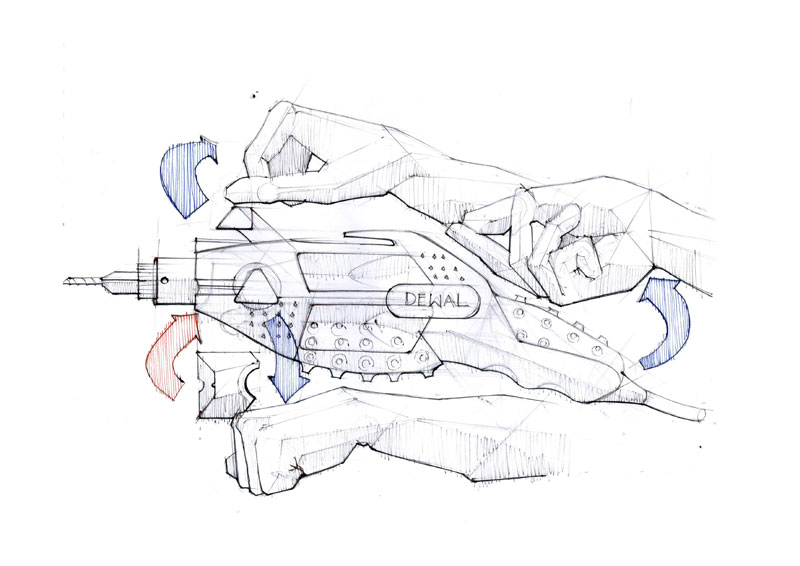
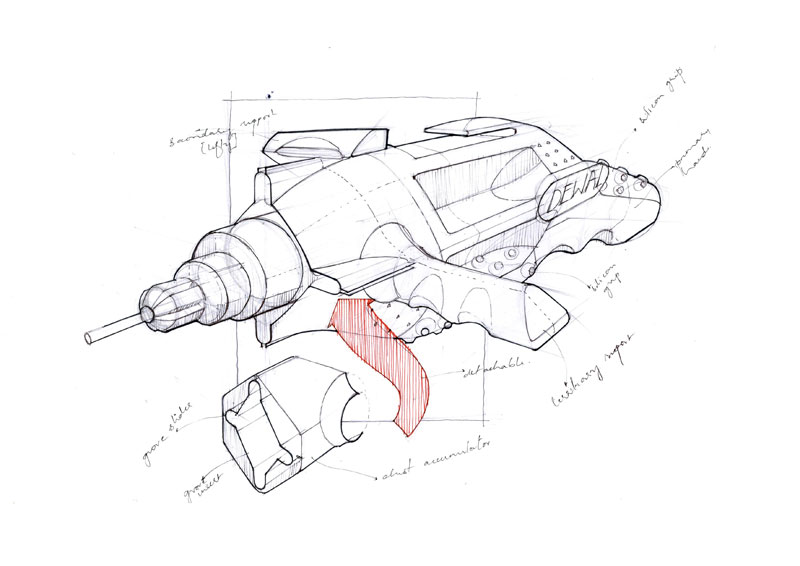
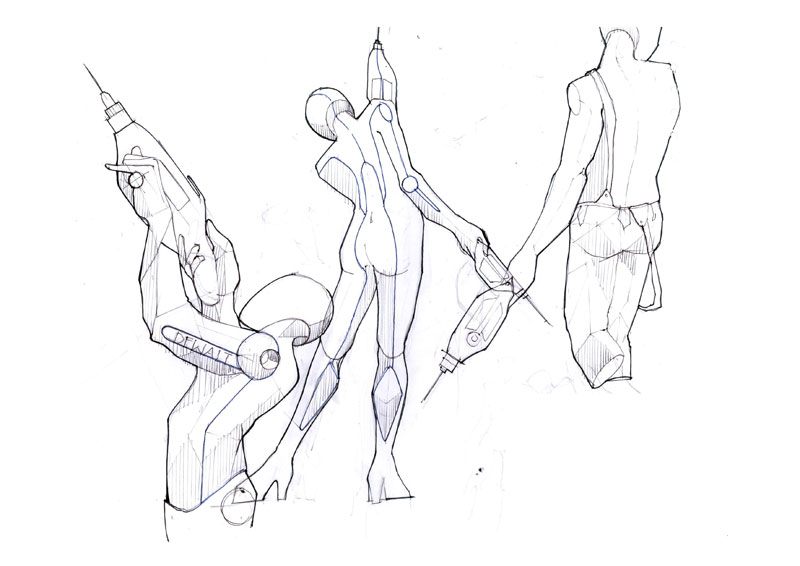
Addition of arrows and label to explain the sketches and to demonstrate the purpose behind parts.
-

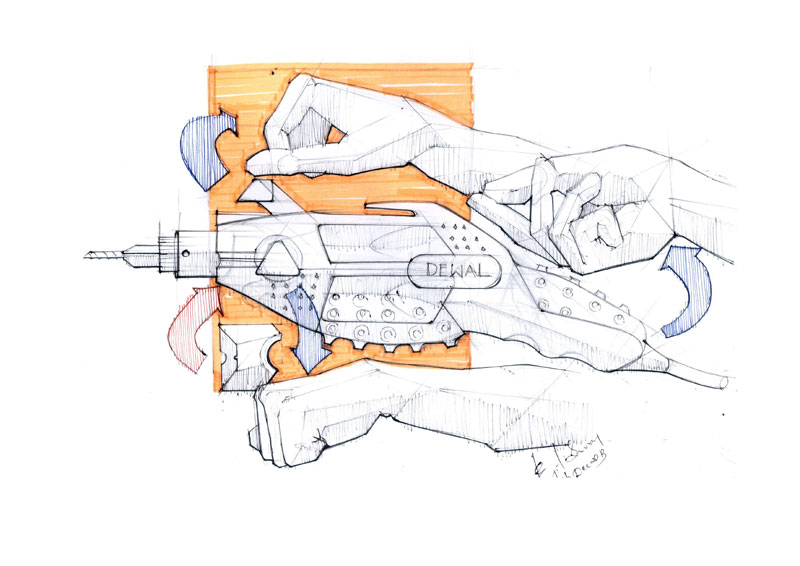
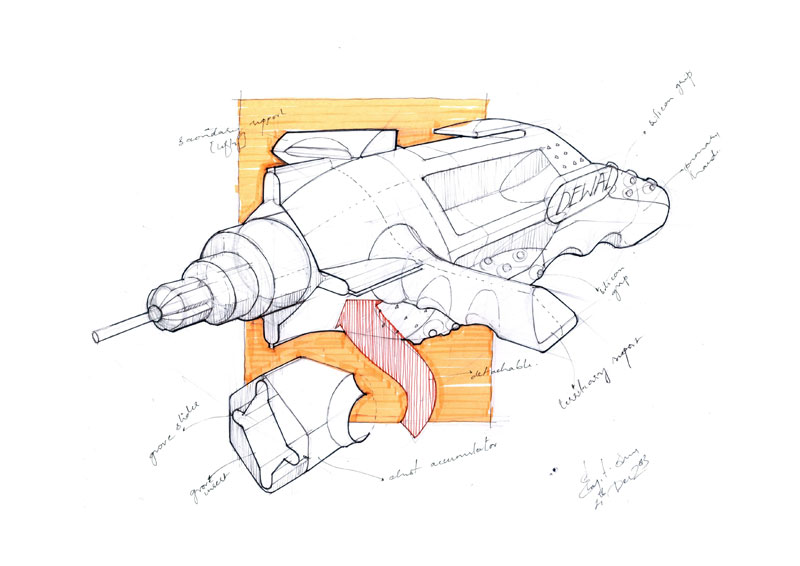
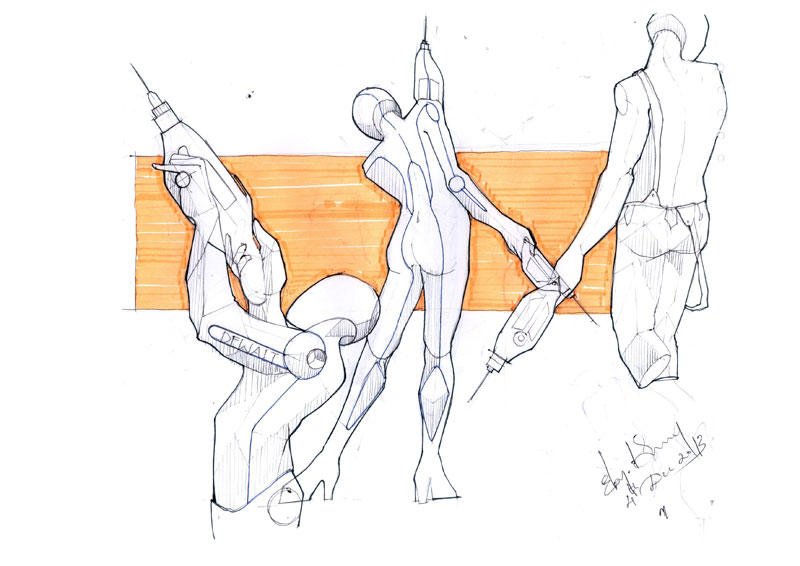
Adding the border and final background frame to demonstrate hollow portions.
-

The perspective view of the product to demonstrate the volume and over all assembly. The sketch here is the initial reference lines and base lines of perspective construction.
-

Adding further highlights and details is the next step.
-

Adding labels and arrows to demonstrate the function and working of the product. It also include line width and highlight.
-

The final stage is to add frame or background to define the contour and shows hollow portions and transparency (if any).
-

The development human figure with the product to demonstrate the size and proportion. This also helps in proving the style line you adopted for your project. This here are the basic lines and reference grids for initial sketch.
-

The next level is to add highlights and line weight.
-

Shading and further refinement happens here.
-

The final stage would be to add a frame of background to connect these separated figures.


This is effort to showcase the various stages involved in coming out with a new design and defining a style statement for the product. The example shown here is a hand driller. This design is a new design, and though various hand holding position the way to use the product is explained. Use of human figures here is to give an idea of the scale and also a statement is derived in the same way. The idea here is to explain the sketching style and explanation method which is vital for a product design presentation.