Design Gallery
Furniture Sketching
Quick and Simple Technique for Product Designers
by
-

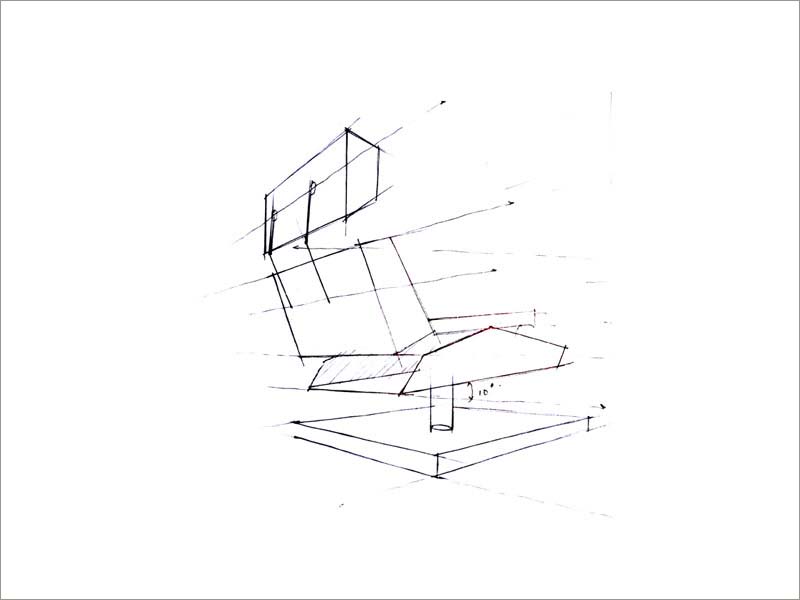
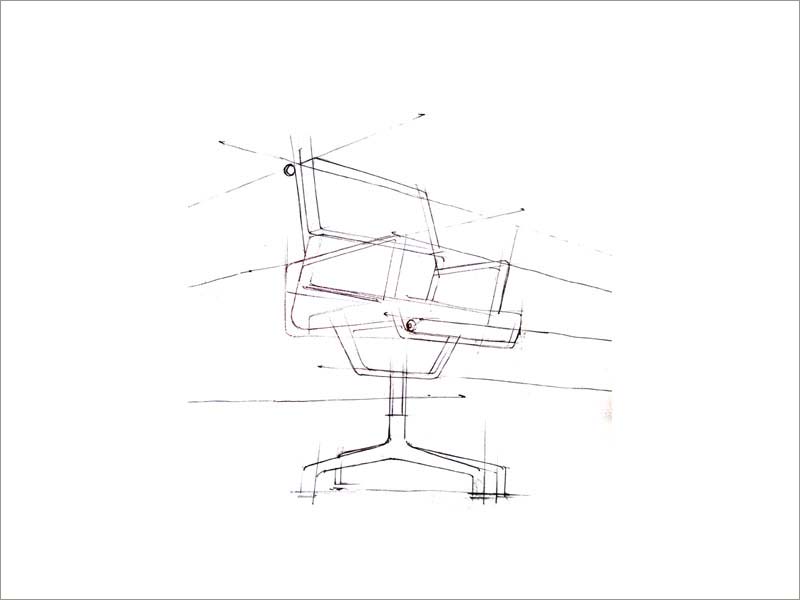
Lay the important vp lines and reference lines that are to be used for the final design. Note: The vp lines should not be too dark or deep.
-

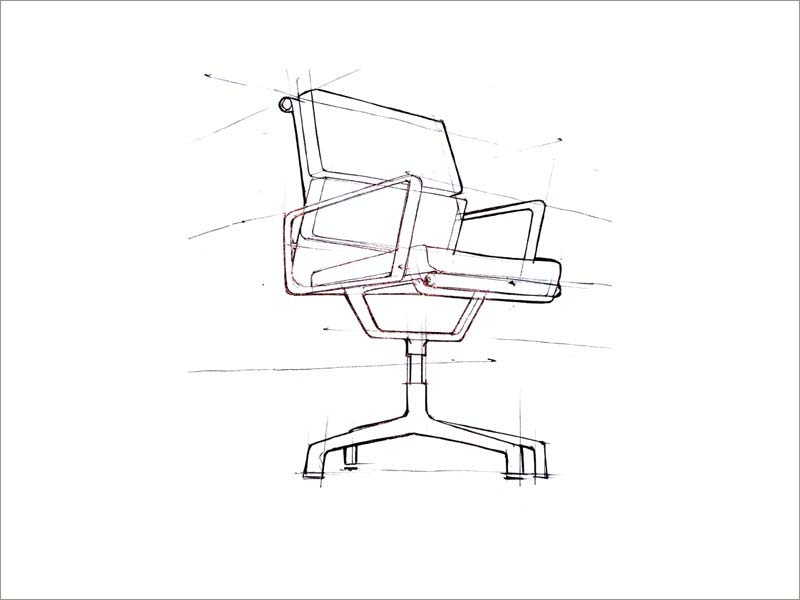
Now the final shape or design can be extracted out of the reference lines and give the required line thicknesses.
-

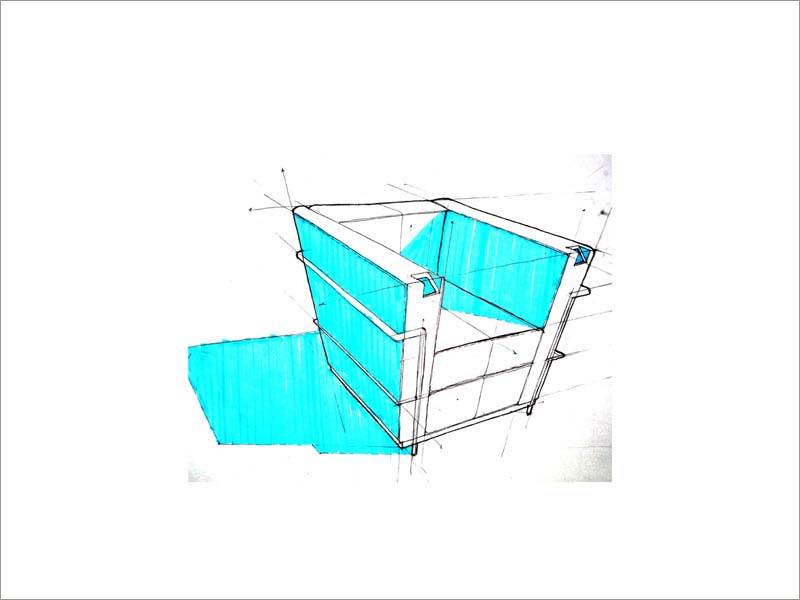
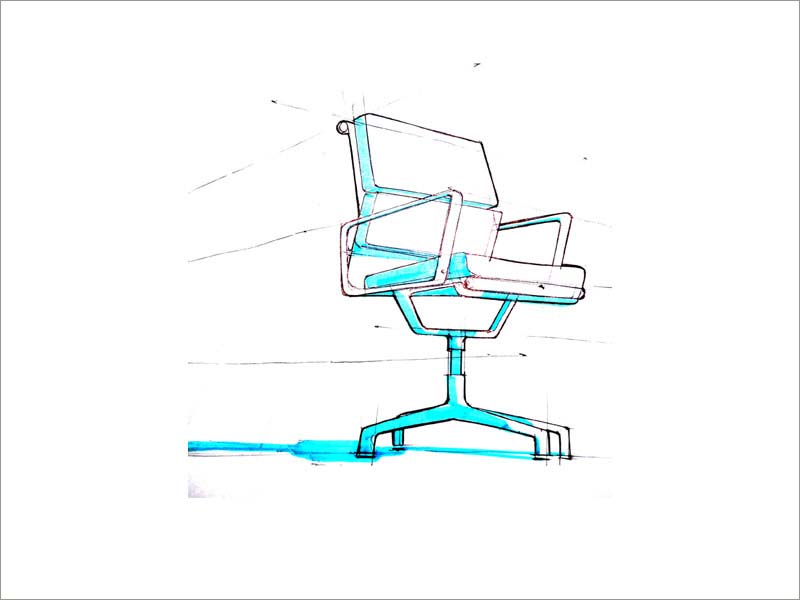
The next step is to give shadows and shades to your sketch, that will give clarity to your sketch. At this point it is not important that the shadows need to be perfect. And profile lines are also important, as this is just a demo sketch and not the final ones.
-

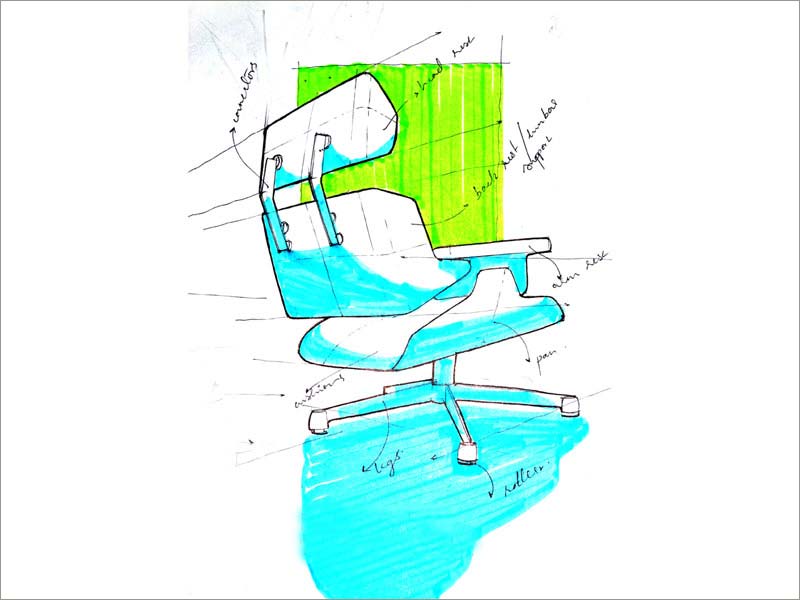
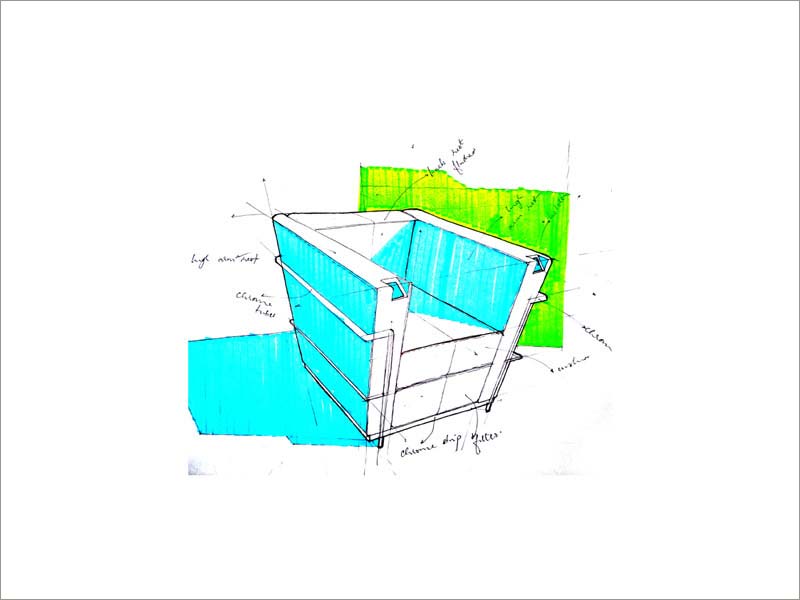
The final step is to give highlight or back ground, that will give clarity to the sketch and then mark the details and give the important notes.
-

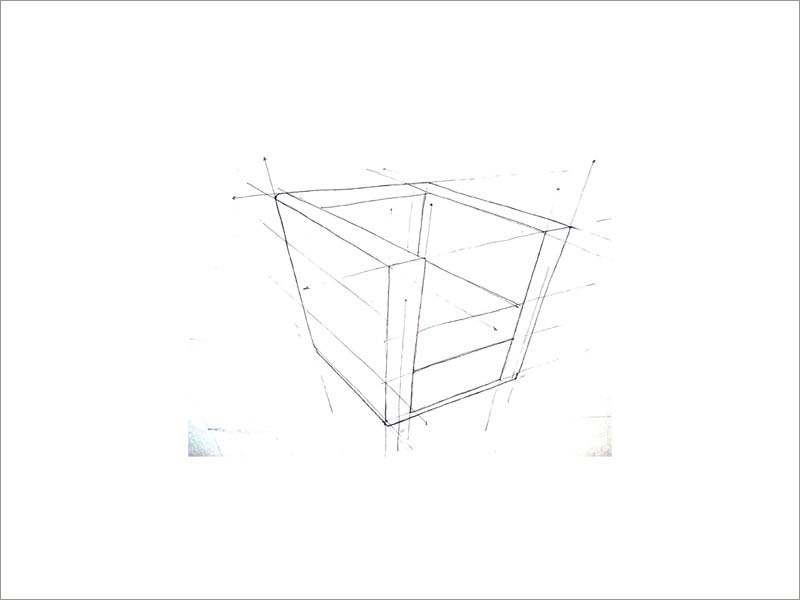
Lay the important vp lines and reference lines that are to be used for the final design. Note: The vp lines should not be too dark or deep.
-

Now the final shape or design can be extracted out of the reference lines and give the required line thicknesses.
-

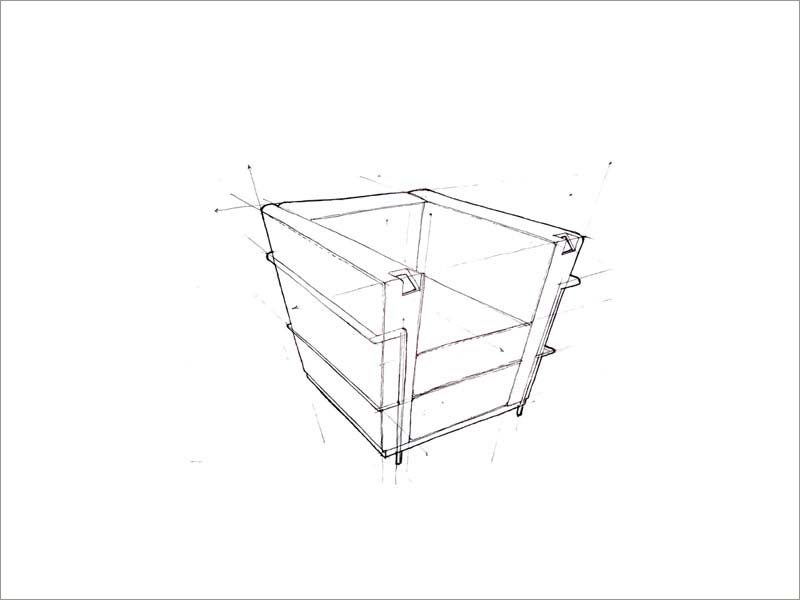
The next step is to give shadows and shades to your sketch, that will give clarity to your sketch. At this point it is not important that the shadows need to be perfect. And profile lines are also important, as this is just a demo sketch and not the final ones.
-

The final step is to give highlight or back ground, that will give clarity to the sketch and then mark the details and give the important notes.
-

Lay the important vp lines and reference lines that are to be used for the final design. Note: The vp lines should not be too dark or deep.
-

Now the final shape or design can be extracted out of the reference lines and give the required line thicknesses.
-

The next step is to give shadows and shades to your sketch, that will give clarity to your sketch. At this point it is not important that the shadows need to be perfect. And profile lines are also important, as this is just a demo sketch and not the final ones.
-

The final step is to give highlight or back ground, that will give clarity to the sketch and then mark the details and give the important notes.


Furniture designing and quick renderings are vital part in product designing. How you sketch and present your drawing will create a great impact during your presentations, and often one will be judged based on that. I this tutorial there are four steps involved in presenting each design. This is a broad way of classifying the steps involved. First and foremost thing is to extract or lay the basic vp lines and reference lines that would guide us through the whole process. Then formulate the sketch based on that. Your sketch has to perceptively correct to communicate the same kind of volume of an object that you want to convey. In the end you need some unique background depicting technique that can act as your signature. It will also help in giving more clarity to the sketch, as in were the transparency and perforations are there, etc. Hope this will help you in deciding upon a technique and present your sketches, more effectively.